





Document Library Pro is a hosted service, so there is nothing to install and no updates to apply. This article covers creating your library, working through the setup wizard, and finding your way around your dashboard.
Watch the full tutorial
Create your library
After signing up, the Finish setting up your library screen opens. It has two fields:
- Library name - The name of your document library, used in your dashboard and on your library website. This can be changed later in Settings → General.
- Web address - A short address such as acme, which creates acme.documentlibrary.app. Use lowercase letters, numbers and hyphens. A branded address such as docs.yourcompany.com can be set up later by connecting a custom domain.
Click Create My Library. This takes around 20 seconds, so keep the page open until it finishes.
Setup wizard
The setup wizard opens automatically the first time you visit your dashboard, starting on a Welcome screen. It sets the main options for your document libraries and has three steps.
All these options are available in Settings afterwards, and each library you build later can use different options.
Step 1: Your library
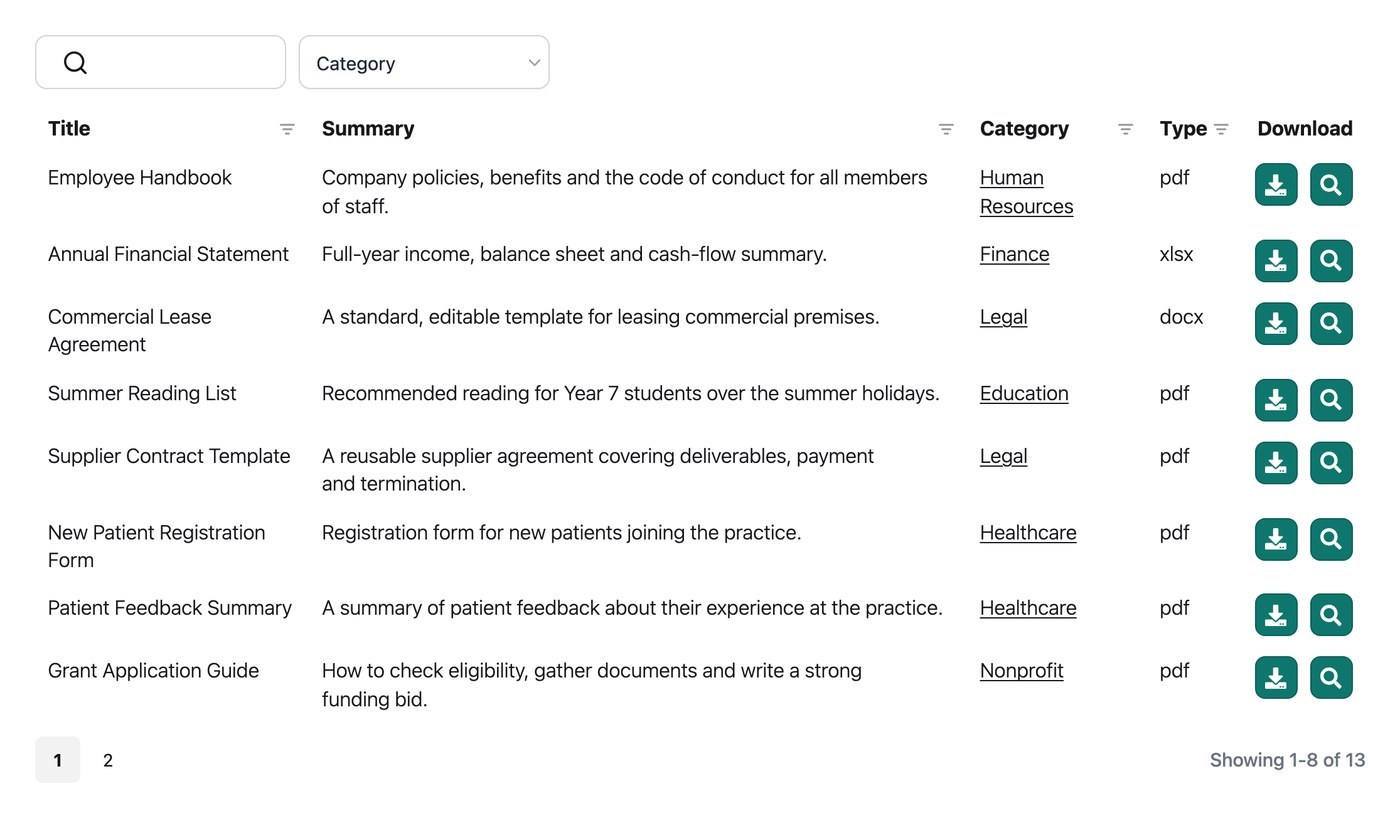
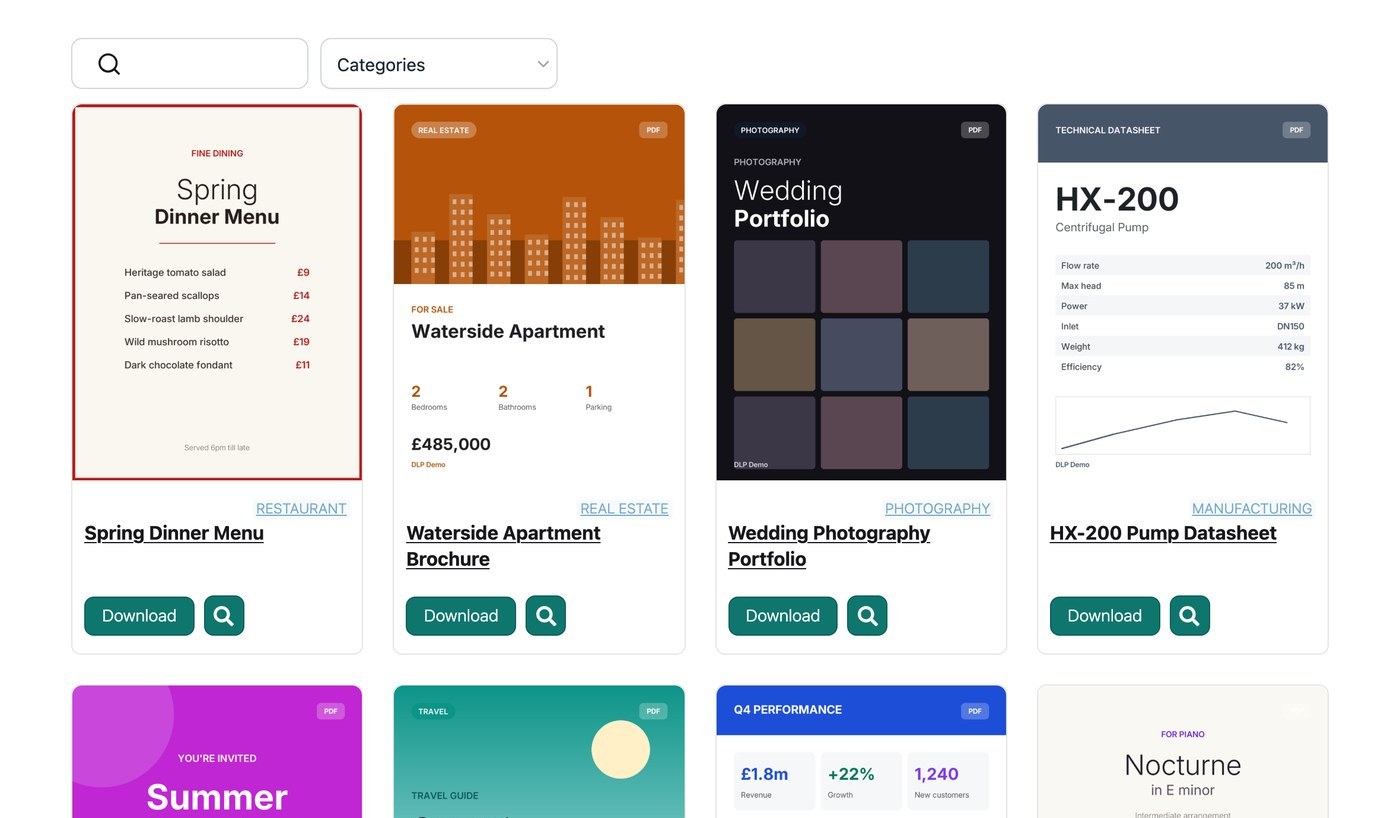
- Default layout - Table lists documents with multiple columns of information, which suits long lists that visitors search and scan. Grid displays documents as tiles, which suits visual collections such as brochures and reports. See document library layout.
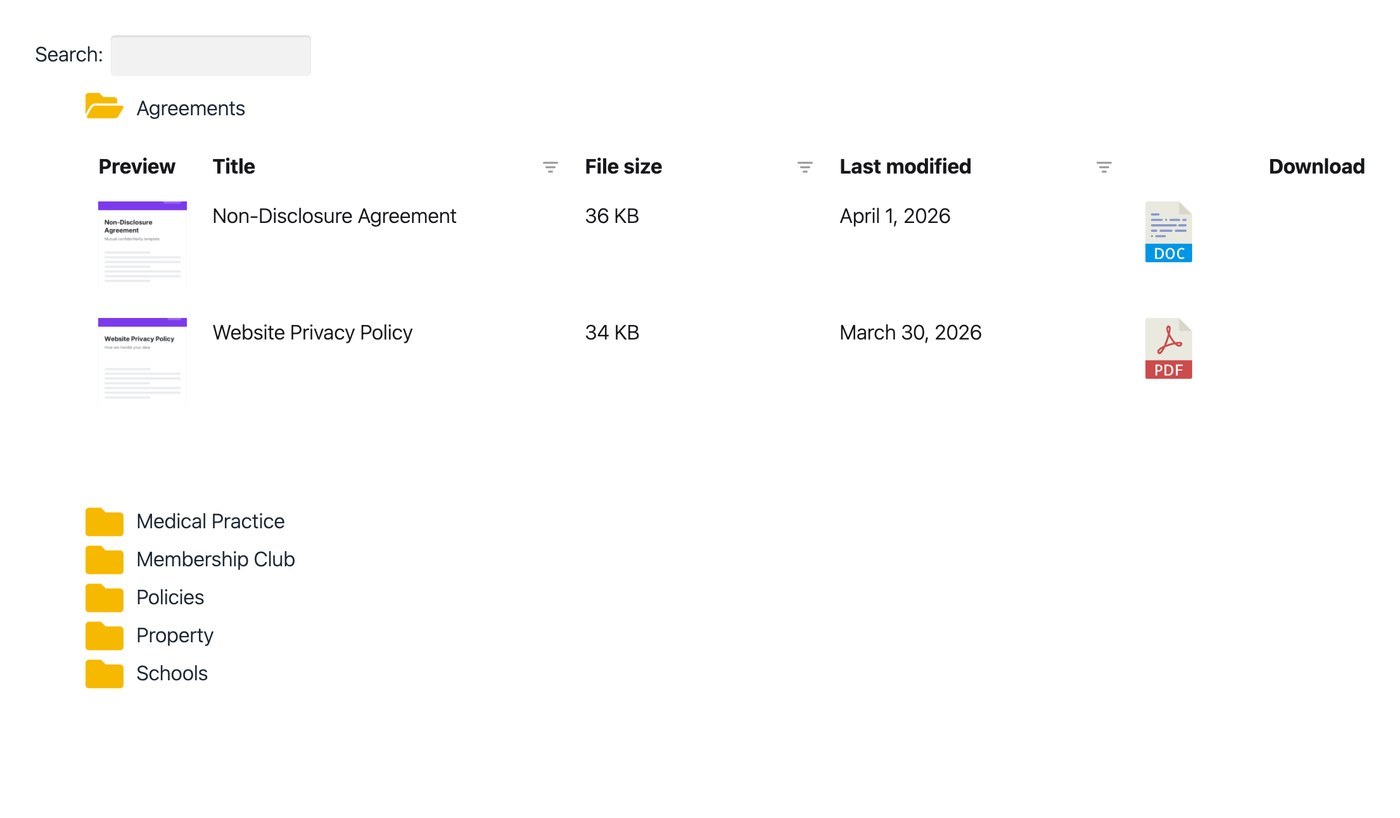
- Folders - Arranges the library into a folder tree built from your document categories, which visitors open one folder at a time. See document folders.
- Document preview - Adds a preview button so that visitors can read a document in a lightbox instead of downloading it. The preview option appears for supported file types only. See document preview.
- Main language - The language your visitors see in your library. It also sets the language of your dashboard and the emails sent to you. To use a language which is not listed, or a different language in each library, see translating your document library.
Step 2: Tables or Grid
The second step depends on the layout selected in step 1. Choosing Table shows the Tables step, and choosing Grid shows the Grid step instead.
The Tables step has two options:
- Columns - Use the column builder to select which document data appears in the table, such as the title, categories, file type, file size, date and the document link. Drag and drop to reorder the columns, and use the pencil icon to rename one or adjust its width. See document library content.
- Multi-downloads - Adds a checkbox to each row, plus a button which downloads the selected documents as a single zip file. See links in the document library.
The Grid step has one option:
- Grid content - Select which information appears on each card. The options are the image, title, filename, file type, file size, download count, categories, authors, the document’s description and the document link.
Each library you build later can use the other layout, and its own columns or card content are set in the Library Builder.
Step 3: Document filters
Filters are dropdowns which visitors use to narrow the library by category, tag, author or file type.
- Enable filter dropdowns - Disabled by default, because filters need categories or tags to filter by.
- Filter locations - Display the filter dropdowns above the library, show them inside the column headings, or both.
- Multi-select filters - Allows visitors to select more than one option from each filter.
- Active filters - Displays the filters which are currently applied above the library.
- Filter counts - Shows the number of matching documents next to each option in a filter dropdown.
See document library filters for the full details, including how to rename and reorder the filters.
Setup Complete
The final step of the wizard confirms that setup is finished. Click View Library to open your document library, which stays empty until documents are added.
Your dashboard
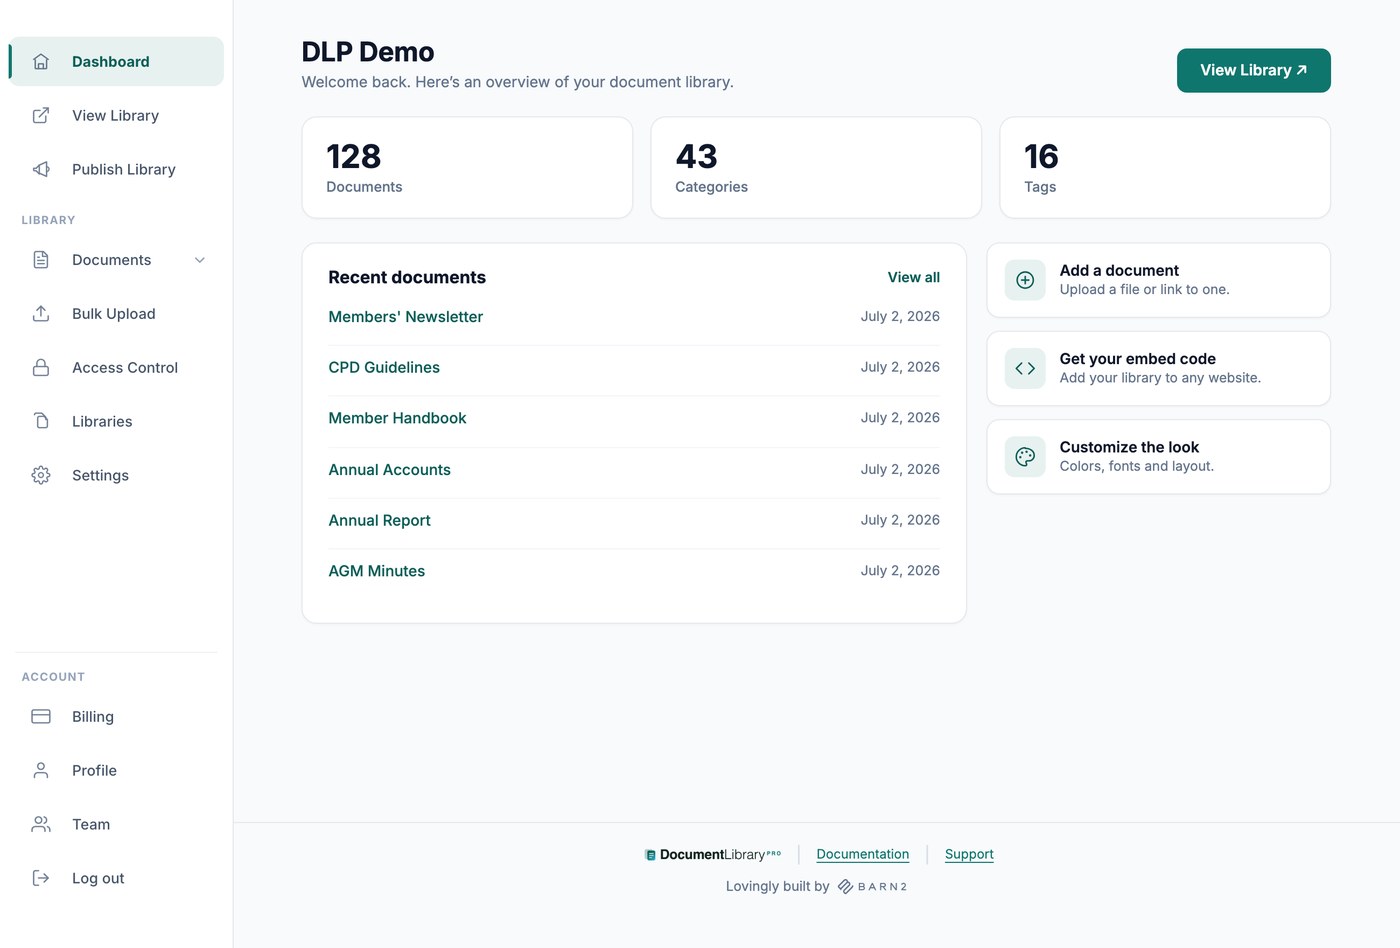
The dashboard home screen shows your library name, a count of your documents, categories and tags, and your six most recent documents. The left menu contains the following sections:
- View Library - Opens your document library in a new tab.
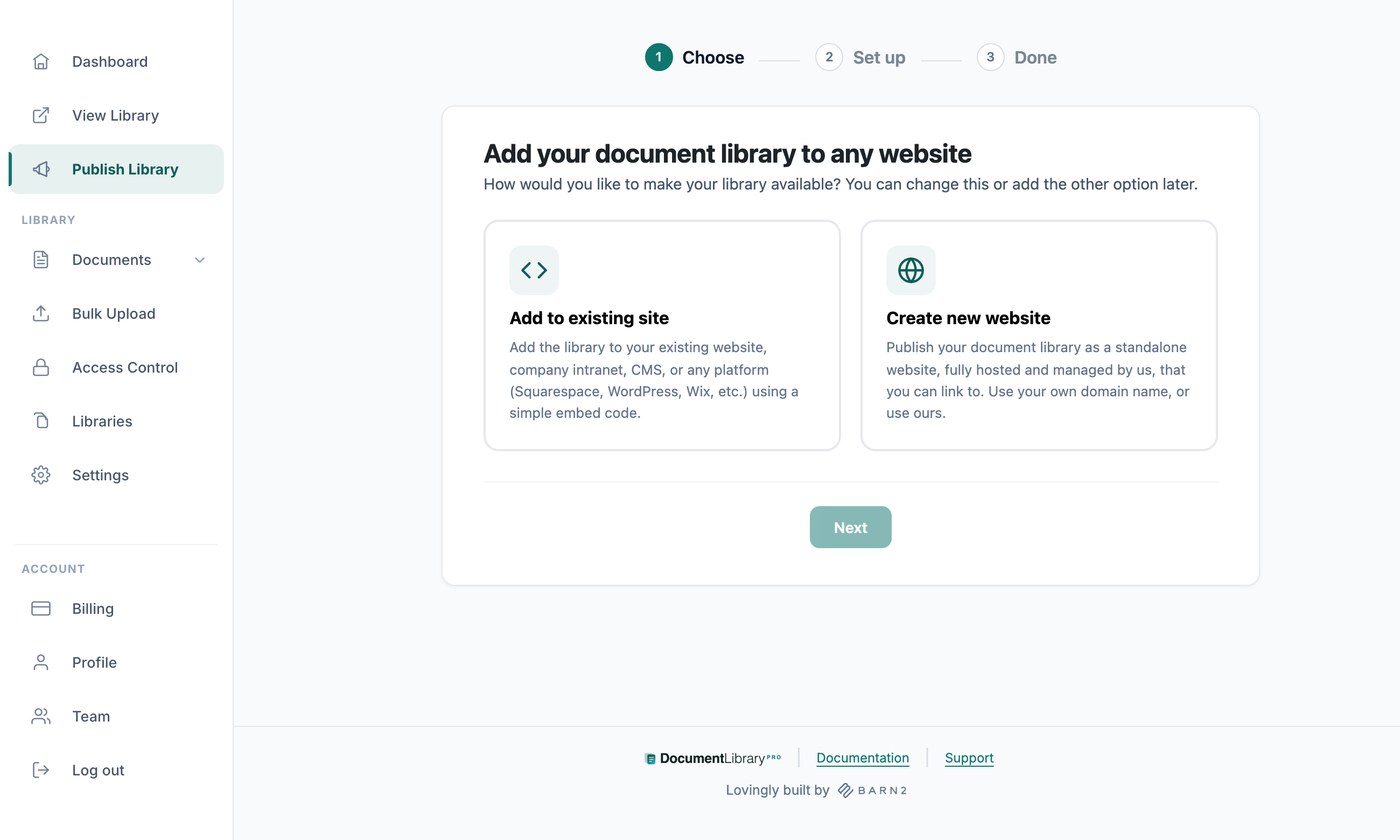
- Publish Library - Contains your embed code and the settings for your library website.
- Documents - My Documents, Add Document, Categories, Tags and Authors.
- Bulk Upload (Advanced plan only) - Creates documents from a batch of files or a spreadsheet.
- Access Control (Advanced plan only) - Password protects your libraries and your uploaded files.
- Libraries - Builds additional document libraries, each with its own documents, options and embed code.
- Settings - Seven tabs of global options: General, Display, Search, Branding, Library Design, Translations and Advanced.
- Billing - Change your plan, update your payment details and view your invoices.
- Profile - Change your name, email address and password.
- Team - Invites other people to help manage your documents.
Publish Library, Libraries, Access Control, Settings, Billing and Team are available to the account owner only. Invited team members see a shorter menu, because they manage your documents rather than your subscription and global settings.
Next steps
Your library is now set up and ready for documents. The following articles cover what to do next, in the order that most libraries need them:
- Adding documents to your library - Add documents one at a time, either as an upload or as a link to a file hosted elsewhere.
- Bulk Upload (Advanced plan only) - Create documents in bulk by dropping in a batch of files or importing a spreadsheet.
- Categories, tags and authors - Organize your documents. Your filters and folders are built from your document categories.
- Settings - The options which are not in the setup wizard. These include your logo and brand color, the design of your tables and grids, your search options, and the messages shown when a library is empty. Version control and lead capture are on the same page on the Advanced plan.
- Publishing your library - Share your library as its own website, or embed it on a site you already have.
- Protecting your document library (Advanced plan only) - Password protect a library so that only the right people can open it.
- Creating multiple libraries - Build additional libraries when different pages need different sets of documents.
- Adding team members - Invite colleagues so that they can add and edit documents.
If you need any help with your setup, please get in touch and we will be happy to help.