


Framer’s Embed component is all you need to drop your hosted document library onto any page. The steps below cover the whole process from start to finish.
Antes de comenzar: You can use the Embed component on Framer’s free plan, and your library shows up as soon as the site is published. Note that free sites publish to a framer.website address and carry a small “Made in Framer” badge. Moving to a paid Framer plan clears that badge and unlocks your own custom domain.
Paso 1: Copie su código de inserción
En su panel alojado, abra Publicar biblioteca para encontrar su código de inserción y copiarlo. La mayoría de los sitios tienen una sola biblioteca, y la página Publicar biblioteca es donde vive su código de inserción. (Si ha creado más de una biblioteca, copie el código de la que desee desde la pantalla Libraries en su lugar.) Pegue siempre el código exacto de su propio panel, no el ejemplo a continuación:
<iframe src="https://your-library.documentlibrary.app/?dlp_embed=1" title="Document library" style="width:100%;border:0;height:600px;" loading="lazy"></iframe>
<script src="https://your-library.documentlibrary.app/?dlp_embed_resize=1" async></script>
Step 2: Open the page for your library
Inside the Framer editor, navigate to the page that will hold the library. If you would rather use a fresh page, create one from the Pages panel and give it a clear name like biblioteca de documentos.
Step 3: Add an Embed component
Choose Insertar, type Insertar into the search box, and drag the Insertar component onto the spot where the library should sit.
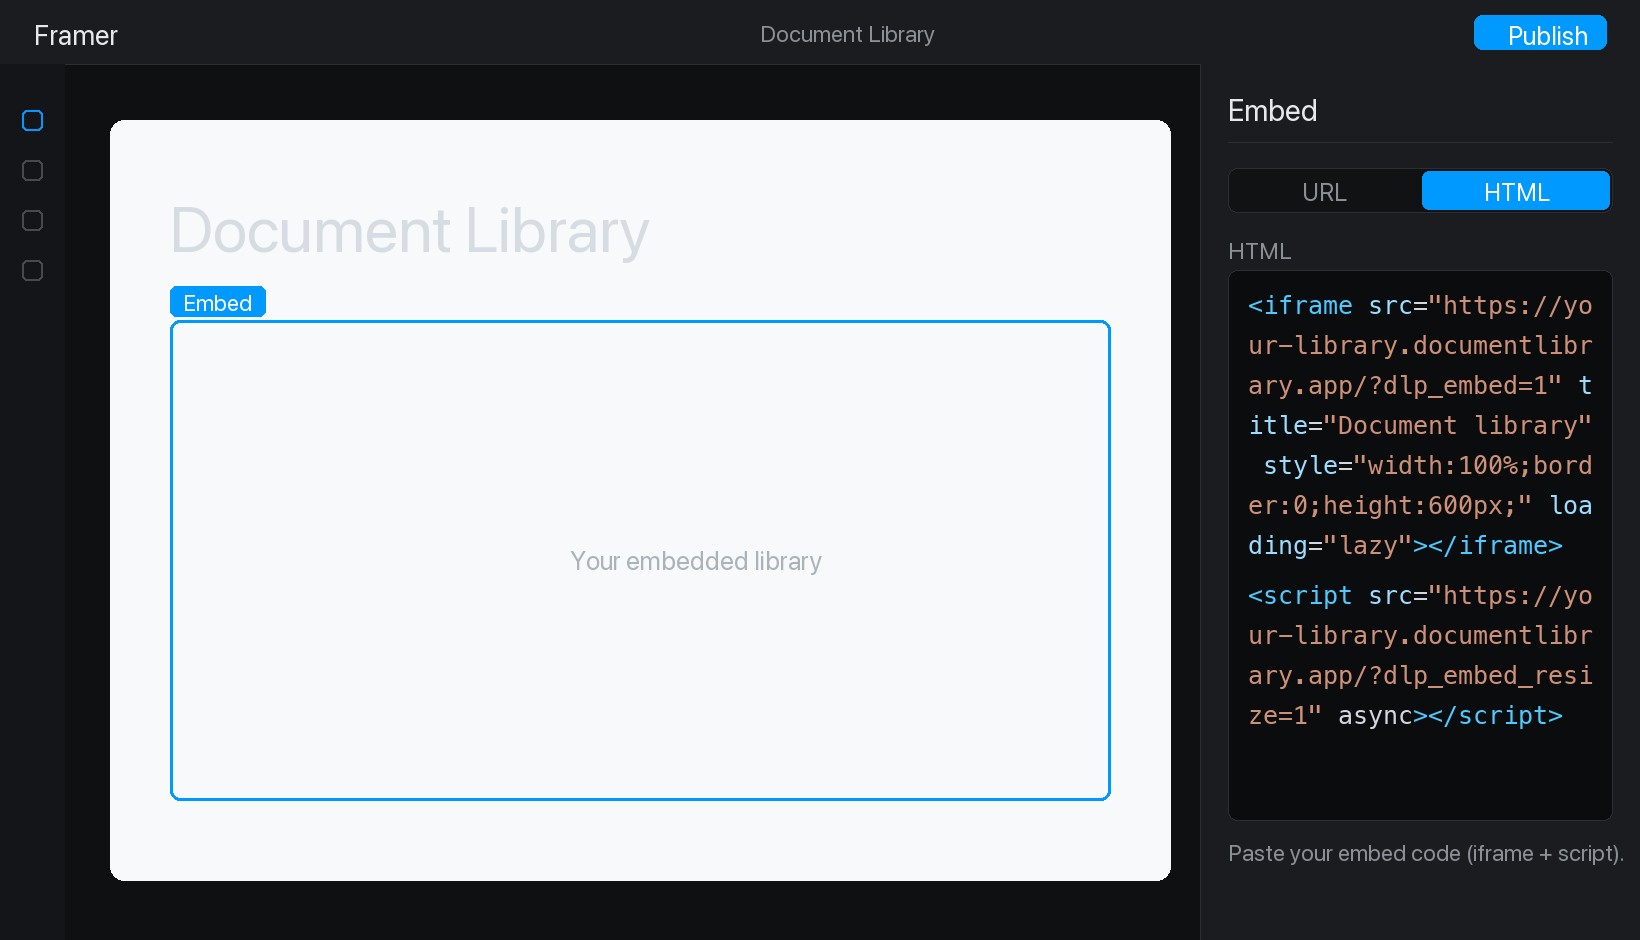
Paso 4: Pega tu código de inserción
Keep the Embed component selected so its settings appear on the right. Change the type from URL to HTML, then drop the code from Step 1 into the HTML field.
Step 5: Publish and view your library
Hit Publicar at the top right and then open your live site. Your document library is now in place, and visitors can search it, filter by category, and preview or download any document.