


Adding your hosted document library to GoDaddy Websites + Marketing comes down to dropping in an HTML section. Here is the full walkthrough.
Before you begin: Both custom HTML and publishing call for a paid GoDaddy Websites + Marketing plan, and the library only becomes visible after your site goes live.
Step 1: Copy your embed code
In your hosted dashboard, open Publish Library to find your embed code, then copy it. Most sites have a single library, and the Publish Library page is where its embed code lives. (If you have built more than one library, copy the code for the one you want from the Libraries screen instead.) Always paste the exact code from your own dashboard, not the sample below:
<iframe src="https://your-library.documentlibrary.app/?dlp_embed=1" title="Document library" style="width:100%;border:0;height:600px;" loading="lazy"></iframe>
<script src="https://your-library.documentlibrary.app/?dlp_embed_resize=1" async></script>
Step 2: Open the page for your library
In the GoDaddy site editor, move to the page that will display the library, or add a new one from the site navigation and name it something like Dokumentenbibliothek. Scroll down to the exact spot where you want the library to show.
Step 3: Add an HTML section
Klicken Add Section, search for HTML, and click Add. GoDaddy then inserts an HTML section that includes a Custom Code field.
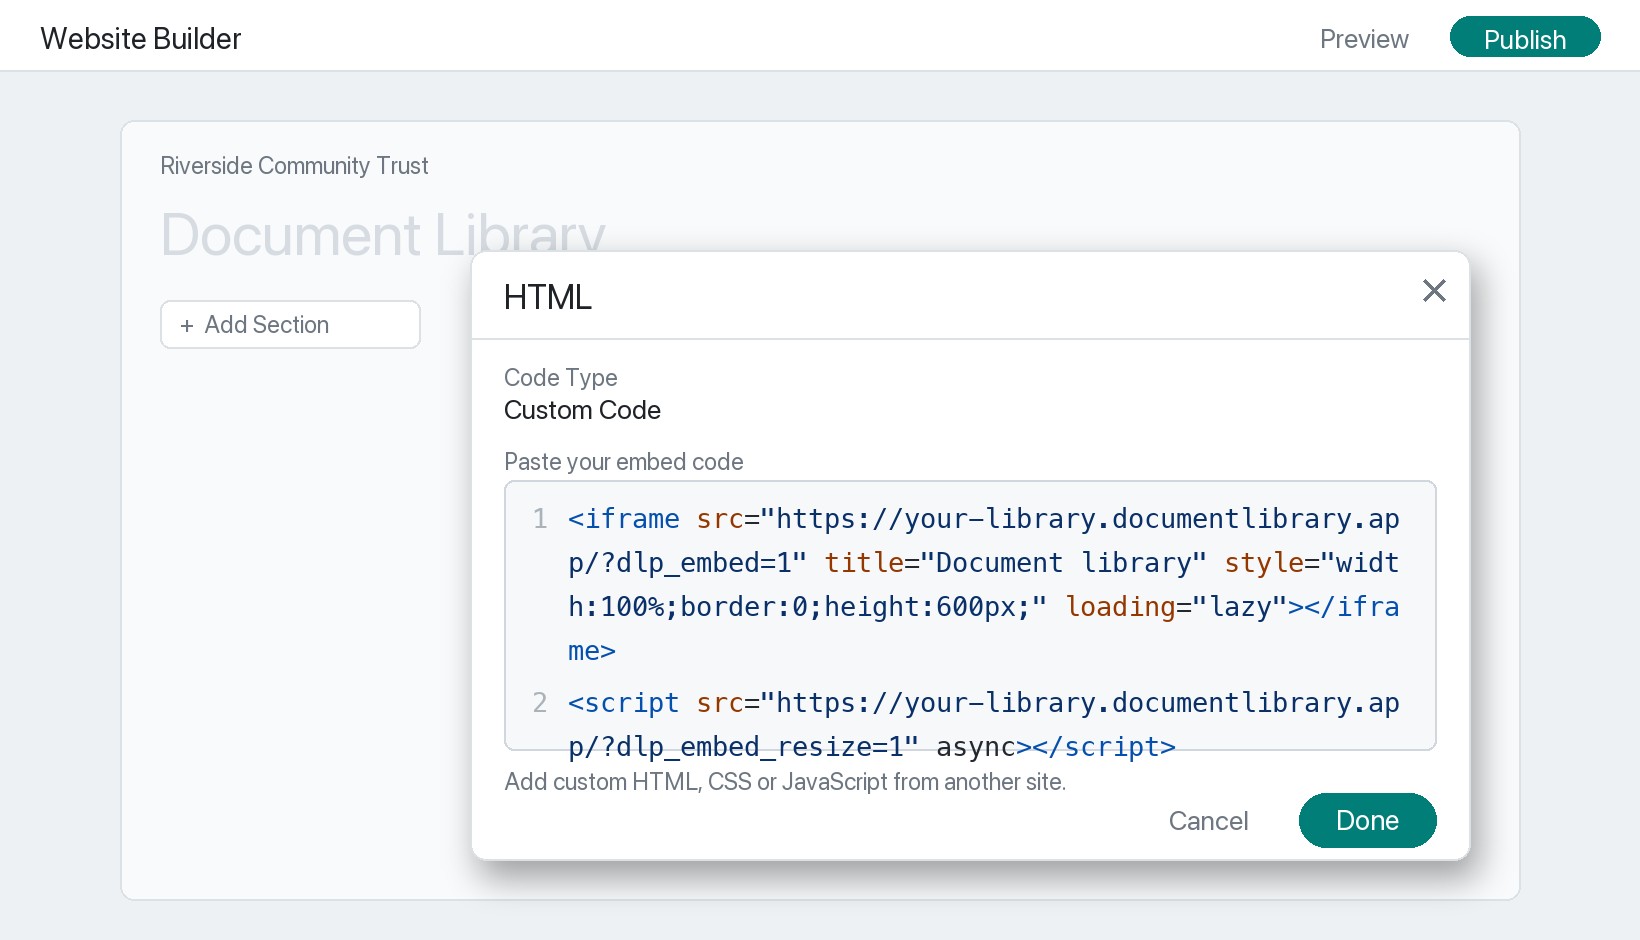
Step 4: Paste your embed code
Confirm the code type reads Custom Code, drop the snippet from Step 1 into the field, and click Done.
Step 5: Publish and view your library
Klicken Publish at the top right and open the page to find your document library, ready for visitors to search, filter by category, and preview or download each document. One thing to expect: while you are still editing, GoDaddy often displays a placeholder where the HTML section lives. That is normal, and the real library renders on the published page.